How to Sew a Tailored Linen Apron
Make an elegant, fully-lined and uber-practical apron by reclaiming a dress! Beginning sewing skills needed, and these materials:
• linen dress (see step 1)
• enough coordinating cotton or linen fabric to cut a strip that's 4 x 80 inches
1. This apron is made from a dress, so first you've got to find a dress. I've been using dresses from the thrift store that were popular in the 90s. Watch for two things: fabric content (must be all or mostly linen), and cut (must be very simple, basically straight up and down). Ideally your dress has no zipper or buttons, but a zipper will do, and I will demonstrate using a zipped dress. With buttons, you're going to have to cut off both the left and right plackets, and your front side will be narrower, so don't start with that. Do that one next time!
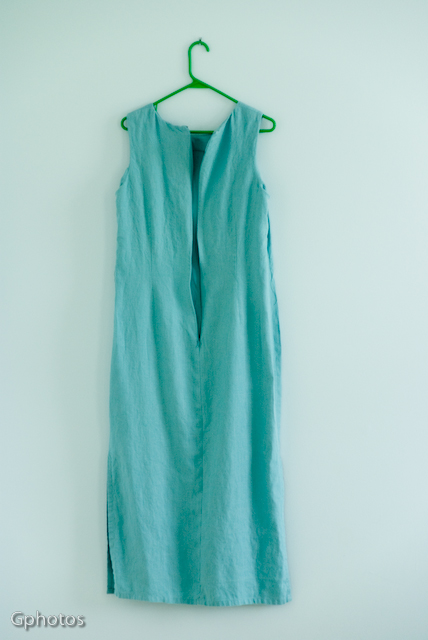
Here's my dress:
Notice that it's shaped with darts, front and back (fine!), and that it has side slits (no problem!). It zips up the back with an invisible zipper.
2. Now, hold the dress up to your waist and figure out how much of it you want to use in your apron. Just let the unwanted bodice flop forward over your hand. Look at the length in the mirror--waist measure doesn't matter so much. Note the spot where you want to cut the dress off.
Now lay it down flat on a cutting surface, making sure that the centers and sides are lined up evenly. I pin my dress together at the sides to make sure it doesn't shift. Then with a yardstick and a pencil, draw a straight line across the dress where you're going to cut.
Cut it! Cut right through that zipper (it's just plastic), but you might want to switch over to utility scissors for that--I never use my good sewing scissors through a zipper.
Now, if you're dealing with a zipper, you need to get the zipper out. I find that they come out easily, even from expensive dresses. Just start gently pulling the zipper and fabric apart, clipping stitches with scissors as you go. There'll be a couple of tacks to snip through at the bottom, then you're done!
Now, stitch the open part of the back seam up on the machine.
3. Now it's time to sew the skirt into a single lined panel, so lay it out flat on a good surface, inside out. Line up the sides carefully, and the bottom edges. If there's any wonkiness let it be at the waist edge for now.
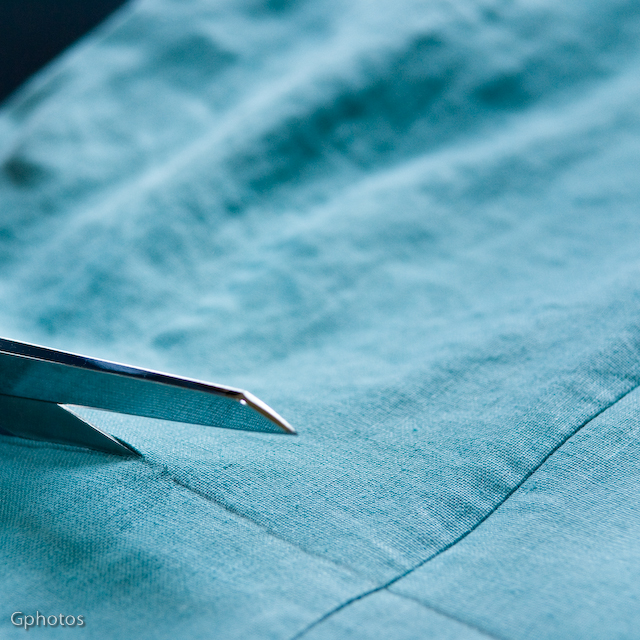
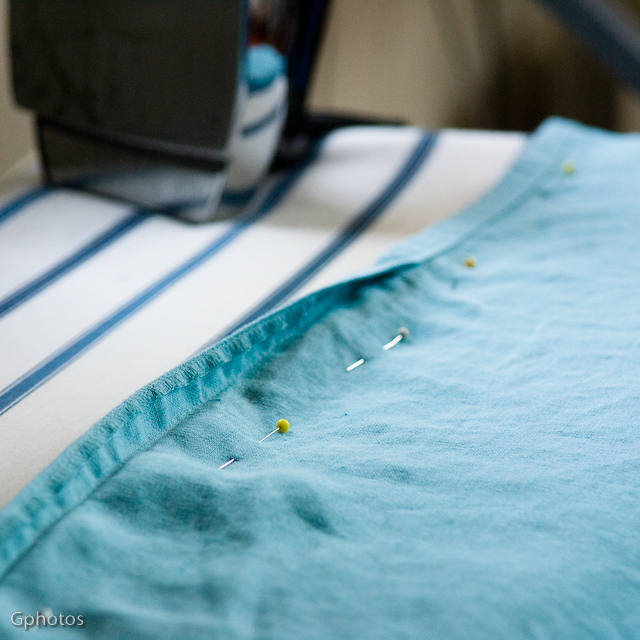
Now, see how the slits have bulky turned in edges? We're going to sew with a big enough seam allowance that we can trim all that off after we've sewn the front and back together. Same with the bottom edge. So the stitching line is going to be a bit far back from the edge of the skirt up at the tops of the sides. Just eyeball the necessary width, and pin to remind yourself.
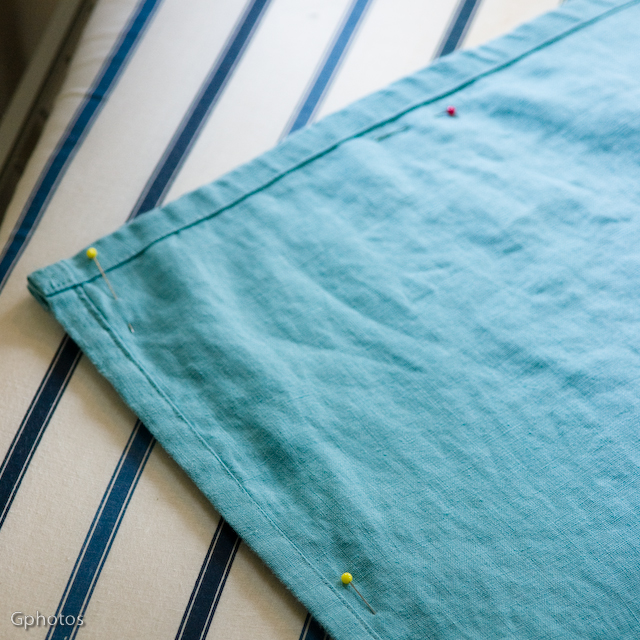
Continue pinning around the bottom of the apron and do the other side also. For now, don't do anything to the top.
Now stitch, staying about a presser foot width away from the bulky seams.
Now trim off the seams as needed, and see the bottom corners? Cut diagonally across without clipping your stitches, so that your corners will turn right side out tidily.
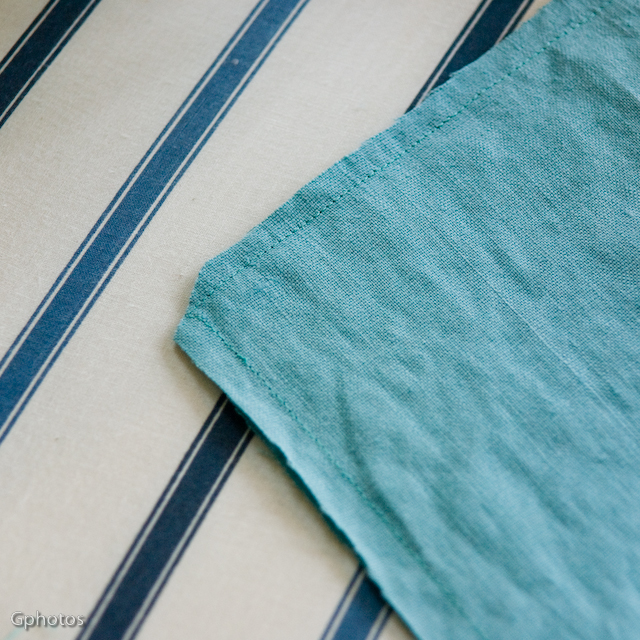
Turn the skirt right side out, and carefully press the edges flat. Check the top edge for evenness, and trim if necessary. Sometimes the sewn darts will start coming loose--if this happens, just reinforce the stitching before moving on. Pin top edges together with raw edges matching, and machine-baste the top closed using a 1/4 inch seam allowance. Set skirt aside.
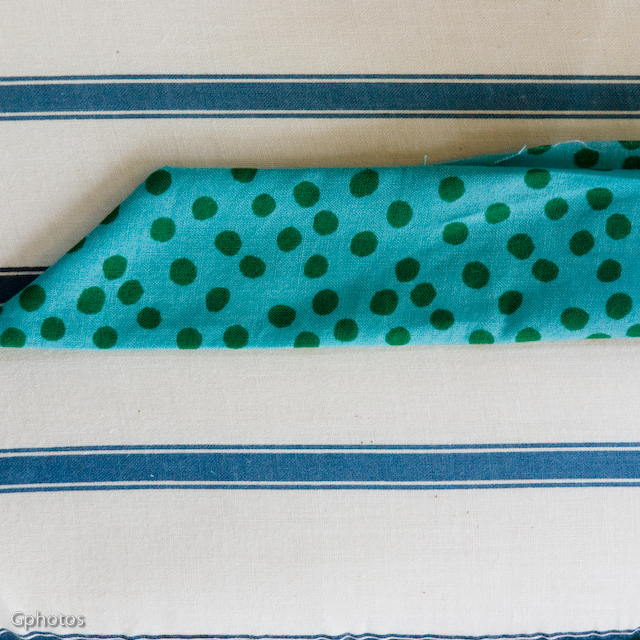
4. Now it's time to make a waistband. Choose any fabric that is sturdy enough to support your apron--I love a fun cotton print, in a little heavier of a fabric. Cut a rectangle 4 inches tall and about 80 inches long--longer of course if you want extra length in the ties. If you need to piece your waistband, go right ahead--just make sure all the pieces are cut with the same grain, either across the fabric, or parallel to the selvedge. A waistband cut across the fabric is going to be a little sturdier.
If you piece your waistband, press the seams neatly open.
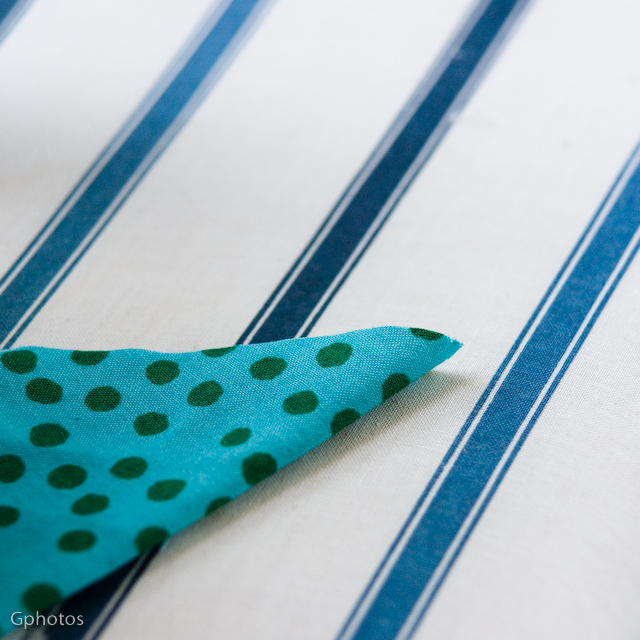
Now gently press your waistband in half the long way, wrong sides together. Then cut each end into a point, at a 45 degree angle. The long point of the arrow will be on the fold.
Now, refold the waistband so that the right sides are together. Starting about two inches from the end, pin the raw edges together for sewing. Using a 3/8 inch seam, sew for two inches along the edge, then with the needle down, turn the corner and sew all the way to the pointed end.
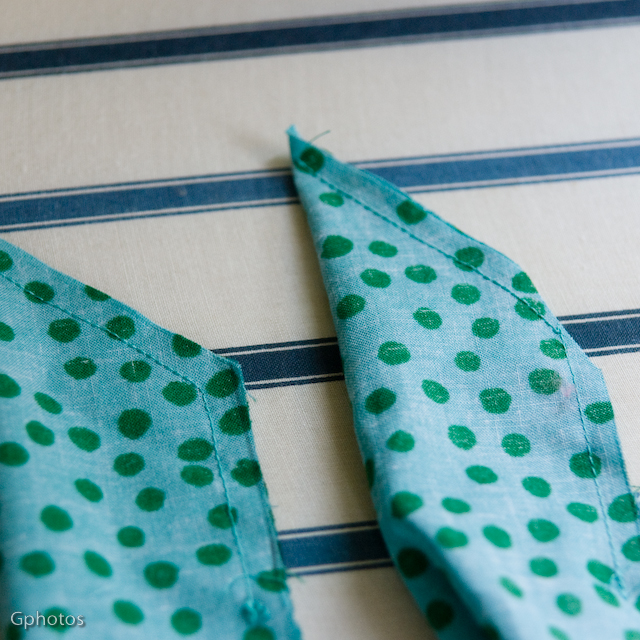
Here are both ends sewn. One already has the corner carefully clipped (don't snip those stitches!). Clip both your corners (they're the oblique angles you just sewed around).
Now, turn the ends right side out, and gently poke something narrow but blunt--like a pencil with the lead broken out--into the corner to get it nice and crisp.
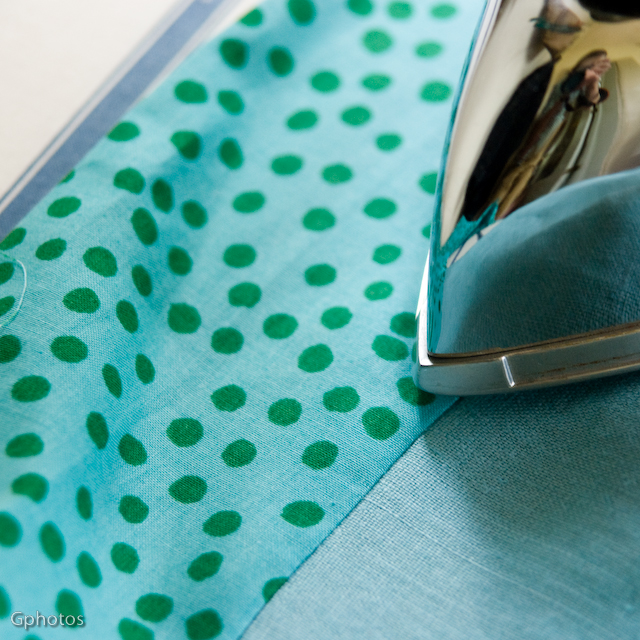
Lay the ends out flat and press them.
Now, open your waistband back up, except for the ends, of course. Press each long edge under 3/8 of an inch. Don't become weary of all this pressing--it's going to make the rest of the sewing a breeze!
5. Time to attach the waistband. Find the center of your waistband and mark it with a pin. Working on the back side of your skirt, find that center also (there's probably a seam there). Now, match the centers together, right side of waistband to back side of skirt, raw edges even. Pin in place first to the right of center, then to the left of center.
Using a 3/8 inch seam, stitch the waistband to the skirt. Your pressed line will guide you, stay right on it!
Now, press the seam allowance up toward the waistband, pressing first on the wrong side, then on the right side.
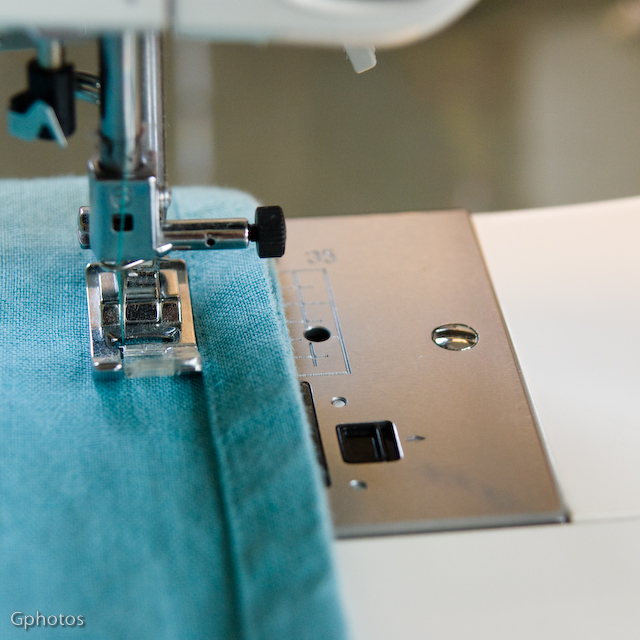
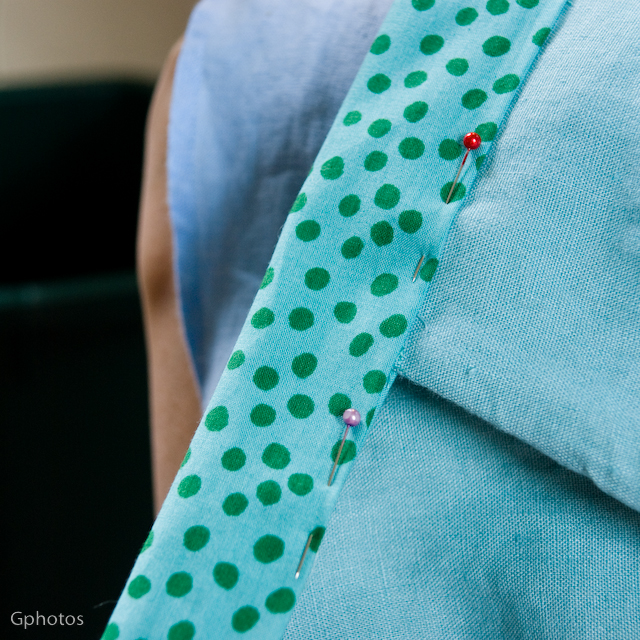
Time to refold the waistband as originally pressed, over to the front, just barely covering the seam. Pin it in place. Continue folding the ties in half, and pin them to be ready for stitching. Now, starting at the edge of the skirt, not the end of the tie, topstitch the waistband over, and continue to stitch all the way down to the point of the tie. Remember to leave your needle in the down position when turning the corner.
Starting back where you started before, this time stitch the other way, continuing to topstitch the tie all the way to the end. IF the top and bottom halves are feeding into the machine unevenly, you can *slightly* pull back on the tie as you feed it under the presser foot to correct that. Or just ignore the little bump at the end--I do!
Now, press one last time, and get out in the garden!


18 comments:
What a fabulous tutorial, I loved the apron you made last week and can't wait to get started on one of my own.
Oh Wonderful! Thank you so much for putting your time and effort into this tutorial. I will be heading to Goodwill after school work is done today. Sara
Anna, if you haven't already, you should enter this in SewMammaSew's tutorial contest - deadline is this saturday!
beautiful job - I always love the colors you choose.
Beautiful apron! I had a dress EXACTLY like this, oh about 10 years ago, except it was a khaki color. I should've kept it (because I did love it) and made an apron. Who knew?:)
I've been so attracted to those dresses at the second hand store, but not sure what to do with them. They don't look that great on me, as is. But now I know what to do. I love linen fabric, especially after it has been worn for a while.
What a great apron, and a clever way to re-use old items.
I was looking forward to this post about the "how to" but sadly the only picture that came through was the end result. Lovely.
I will try back later to see if they will come up for me.
These dresses look terrible on my short sturdy frame, and my husband detests them, I'm so happy to have a use for them now. You are a thrift store magician, and I'm sure the stores will be barren very shortly of post 2000 linen dresses!
:)Mrs. Stewart
No!!! Don't cut through those zippers! "Waste not, want not" my grandmother would say. Clip the entire zipper out and save them for dresses.
Otherwise, I love the tutorial!
This is the first time I've seen the word "wonkiness" in a blog. :)
Beautiful work, Anna!
Lovely idea!
Very very nice! I hope to try this someday. Thank you for posting such clear instructions.
Wow! I plan to try one of these with an old dress I just can't part with. It was the dress I wore to the church the day I got married. I was just too sentimental to throw it out, but now I have a way to keep it forever.
from-my-life.blogspot.com
Anna,
I just saw where you've entered the Sew Mama Sew Tutorial Contest.
Way to go! I really like this 'tute' of yours. Excellent job.
I hope you win!
Peace,
Lynne in NC
Fabulous idea!
I can't wait to make one ... and perhaps embroider some flowers along the bottom hem.
Off I go to the thrift shop : )
What a great idea and thanks for sharing the tutorial. I love re-purposing old things!
Hey, this is the apron I just purchased from you! I like it, by the way!!
love it! great job with the photos and all! Can't wait to make this up this afternoon!
Post a Comment